Tim Mikkelsen's Raspberry Pi Projects
2016/06 RPi Python LED test
Description:
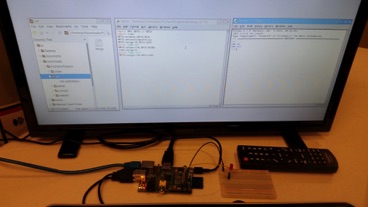
This project was a test to get the process and infrastructure set up for embedded Raspberry Pi projects. The actual test is very simple - turning off and on an LED.
My systems are Apple Mac and I wanted to be able do at least some of the development on the Mac (in PyCharm) and transfer it over to the Raspberry Pi.
A few comments:
1. I was using a Raspberry Pi A for this which is slower and has a limited number of I/O pins (on a 26 pin header).
2. To be able to transfer the Python code, I had to install and configure some software on the Raspberry Pi OS (netatalk and afpd.service instructions from RDC5).
3. The tools on the Raspberry Pi are IDLE and Python 2.7.
Software:
- NOOB software for the Raspberry Pi
- netatalk for the Raspberry Pi
- afpd.service for the Raspberry Pi
- IDLE on the Raspberry Pi
- Python 2.7
- PyCharm for the Mac
Hardware:
- Raspberry Pi
- 330 ohm resistor
- LED
Mac access to the RPi:
1. On Pi: run the commands:
sudo apt-get install netatalk
sudo apt-get install avahi-daemon
sudo update-rc.d avahi-daemon defaults
2. On Pi: create file /etc/avahi/services/afpd.service:
sudo nano /etc/avahi/services/afpd.service
3. On Pi: In nano add this content:
<?xml version="1.0" standalone='no'?><!--*-nxml-*-->
<!DOCTYPE service-group SYSTEM "avahi-service.dtd">
<service-group>
<name replace-wildcards="yes">%h</name>
<service>
<type>_afpovertcp._tcp</type>
<port>548</port>
</service>
</service-group>
4. On Pi: Exit nano, saving the file.
5. On Pi: Run this command:
sudo /etc/init.d/avahi-daemon restart
6. You should now be able to see the Pi in the Finder sidebar.
LED.py code:
import RPi.GPIO as GPIO
import time
GPIO.setmode(GPIO.BCM)
GPIO.setwarnings(False)
GPIO.setup(18,GPIO.OUT)
print "LED on"
GPIO.output(18,GPIO.HIGH)
time.sleep(1)
print "LED off"
GPIO.output(18,GPIO.LOW)